Throughout the summer, I'm going to be posting progress reports with pictures that show what I've been doing and then at the end of the summer as the busy season begins and I get less time to work, I'll assess the work I've done. Out of the six art projects that I've chosen to work on over the summer, only one project has been making any real progress so far. It's even got a theme, but I'm not ready to share that yet. This post will focus on just that one project and hopefully, I'll talk about the other ones more in the future.
This project currently has the working title P-13. Originally, the project was conceived from two other unrealized concepts that I made into one project. That happened in 2010 and then remained untouched for the next two years. The way I build my mixed media pieces have changed over the years, so what you're about to see are really what I consider outdated methods and it's something I'd like to talk more about in the future.
 |
| May 4, 2010: The earliest photo of P13. The pieces of bristolboard from other projects were placed on two canvases that I put together. The chicken wire makes up the early 3-D work while the foamboard helps manipulate the shape of the project. Trust me, the way I do this now compared to when this photo was taken is so much simpler. |
 |
| July 17, 2010: After the 3-D work has done, I placed pieces of canvas over the framework using hot glue. I then gessoed it thinking that all that would be left would be the artwork and other 3-D design work. It wouldn't turn out that way though. The process of using squared canvas pieces and doing gesso work afterwards is one thing that hasn't changed much over the years. |
 |
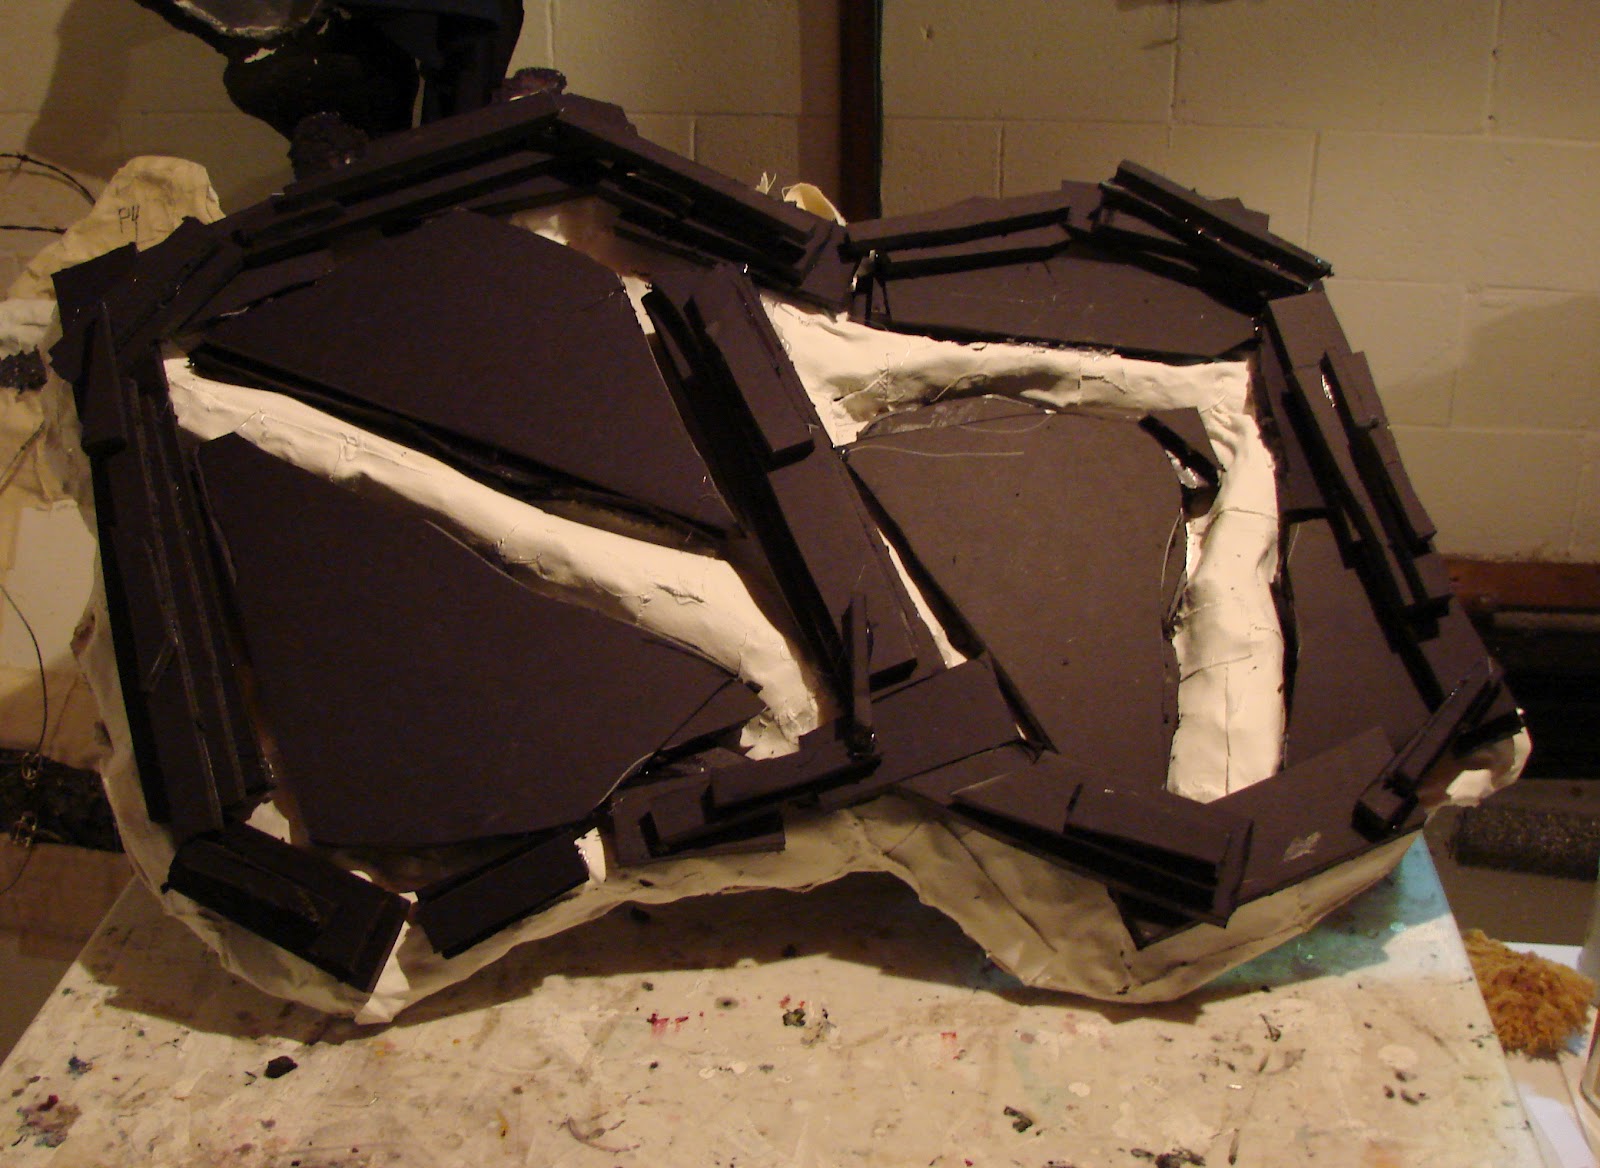
| June 3, 2012: After almost 2 years, I decided what I finally wanted to do with this and it unfortunately required a major change in direction. I wanted the inside to be a bit more simple (it's for the theme I don't want to reveal yet) and so I used 1/2" foamboard to build up the insides. |
 |
| June 7, 2012: Building up the insides was one thing. Because I raised the inside area, I had to raise the outside area as well. On some parts, hot glue is used to make everything stick while on other parts, I used rubber cement. |
 |
| July 11, 2012: This right here should give you a clue about how my methods have changed over time. |
So that's what I have so far. I hope to show everyone even more pictures soon.