This week in November was a week where I was finishing up a lot of projects and taking of the smaller aspects of a project such as name label placements. With the non-ceramic work, there was still a little more to be done. With so much of this happening right before the show, I remember asking myself if I could ever have a show where everything is done well in advance.
 |
| 11/22/16: This was probably one of the easier labels to do. Whenever I end up choosing a smaller font size, I end up using bolded type in order to make smaller words more readable. |
 |
| 11/22/16: This is one of those labels where I wasn't quite sure how the placement was going to work out. There's a lot of unused space. Usually, when I place these labels on a piece, I try to have the top of the label placed right by what I consider the fron of a piece. |
 |
| 11/22/16: I remember having problems with this label because I had put too much hot glue on one side when I had inserted the foamboard. I did get the label on there but I still looked a little off. |
 |
| 11/22/16: Whenever I put the light molding paste on one of these pices, it's always a tricky process. I don't want to cover the name label and I want to make enough room so I feel the letters on the label has breathing space, if that makes any sense. It doesn't always work out that way though. |
 |
| 11/22/16: With this label, there was plenty of room for everything. I put more light molding paste on the piece than what I needed because I wanted to have a solid surface when I eventually place felt on the bottom. |
 |
| 11/22/16: This is one of those examples of a name label where the letters should have been smaller. There's too much room that was taken up. The letters are too close to the molding paste. |
 |
| 11/22/16: Since the light molding paste dried, I was able to paint this. After the felt is glued on, I'll most likely need to paint over it again. |
 |
| 11/22/16: Even though a large portion of the bottom of this piece will be covered in felt, I still felt the need to paint everything. This way, everything will already be done when the felt is glued down and I won't have to try and arrange anything in any special way. |
 |
| 11/22/16: One good thing about using laminated labels is that if I get paint on it, I can wipe the paint off. On this one, the paint is dangerously close to the letters. Not much can be done about that though. As I said before, I should have made the type smaller. |
 |
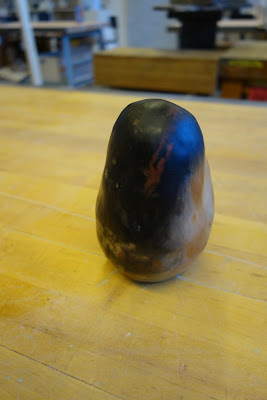
| 11/23/16: This is the first of three pieces that were pit fired. There's more black than what I wanted, but I saw enough that I liked. I also figured I could make the black work somehow. |
 |
| 11/23/16: This is the second piece that was pit fired. I'm kind of liking what's going on here. I kind of wish I had more of that though. |
 |
| 11/23/16: This is the third piece that was pit fired. I ctually like the black on this piece because I felt there was an even amount of dark and light colors. |
 |
| 11/23/16: I managed to get the polishing work done. It's probably hard to tell by looking at this picture, but it does make a huge difference. |
 |
| 11/23/16: The polish definitely made a difference here. |
 |
| 11/23/16: The polishing also made a difference here, but I think it was a little less notible than on other pieces. |
 |
| 11/24/16: After a long wait, I'm finally working on this piece again. I'm using coarse pumice gel for the texturing. I'm starting with the back of the piece first. some parts are being left bare for label placement and felt placement. |
 |
| 11/24/16: The felt is in place. The touchups are done. The polymer gloss work is done. This piece is finally done. |
 |
| 11/24/16: This piece is also done. |
 |
| 11/24/16: This piece is done as well. |
 |
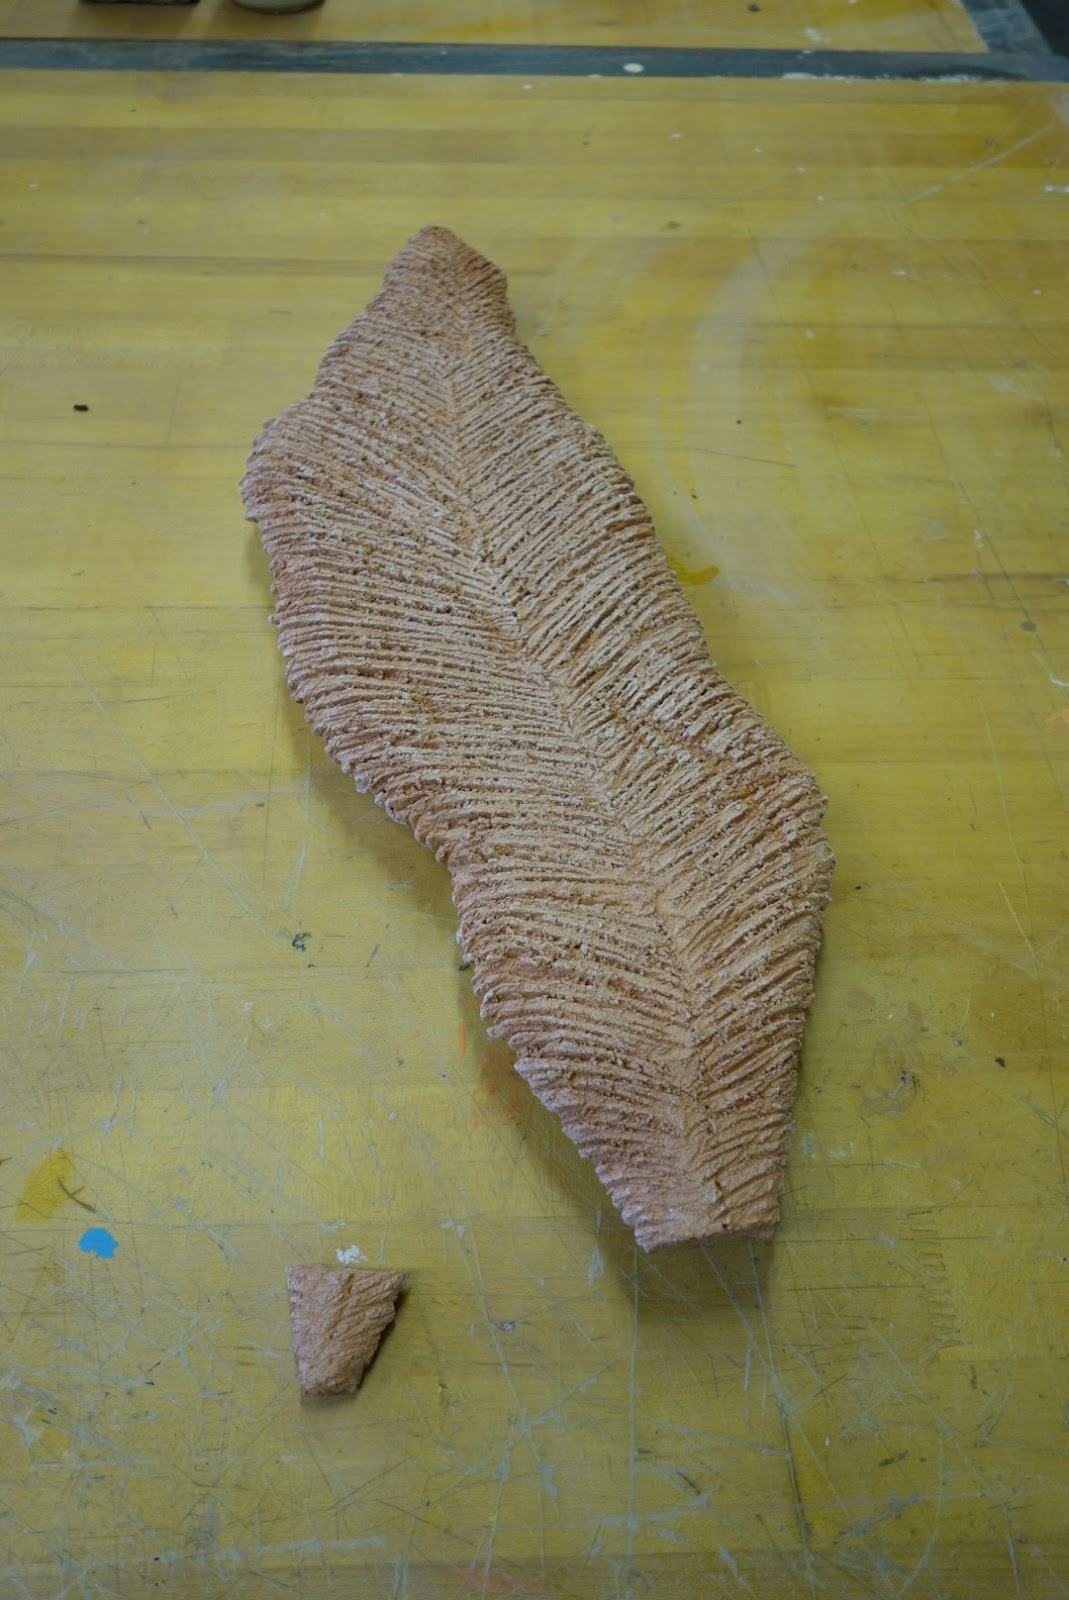
| 11/25/16: The first layer of texture work on the front is finished. With pumice gel, it usually takes two layers to get the desired result. |
 |
| 11/26/16: The wood pieces are in place, however, this is far from ready for hanging. Also, I managed to reattach the broken piece. |
 |
| 11/26/16: The wood piece here was placed almost in the middle. I'm hoping that would balance everything out so both the top and bottom hang evenly on the wall. |
 |
| 11/26/16: The wood piece here was placed almost in the middle. I'm hoping that would balance everything out so both the top and bottom hang evenly on the wall. |
 |
| 11/26/16: Placing the piece of foamboard on this was difficult. |
 |
| 11/26/16: Since the label space is bigger here, there wasn't as much of a problem placing the foamboard piece on here. |
 |
| 11/26/16: Like the first one, the small space made it difficult for foamboard placement. |
 |
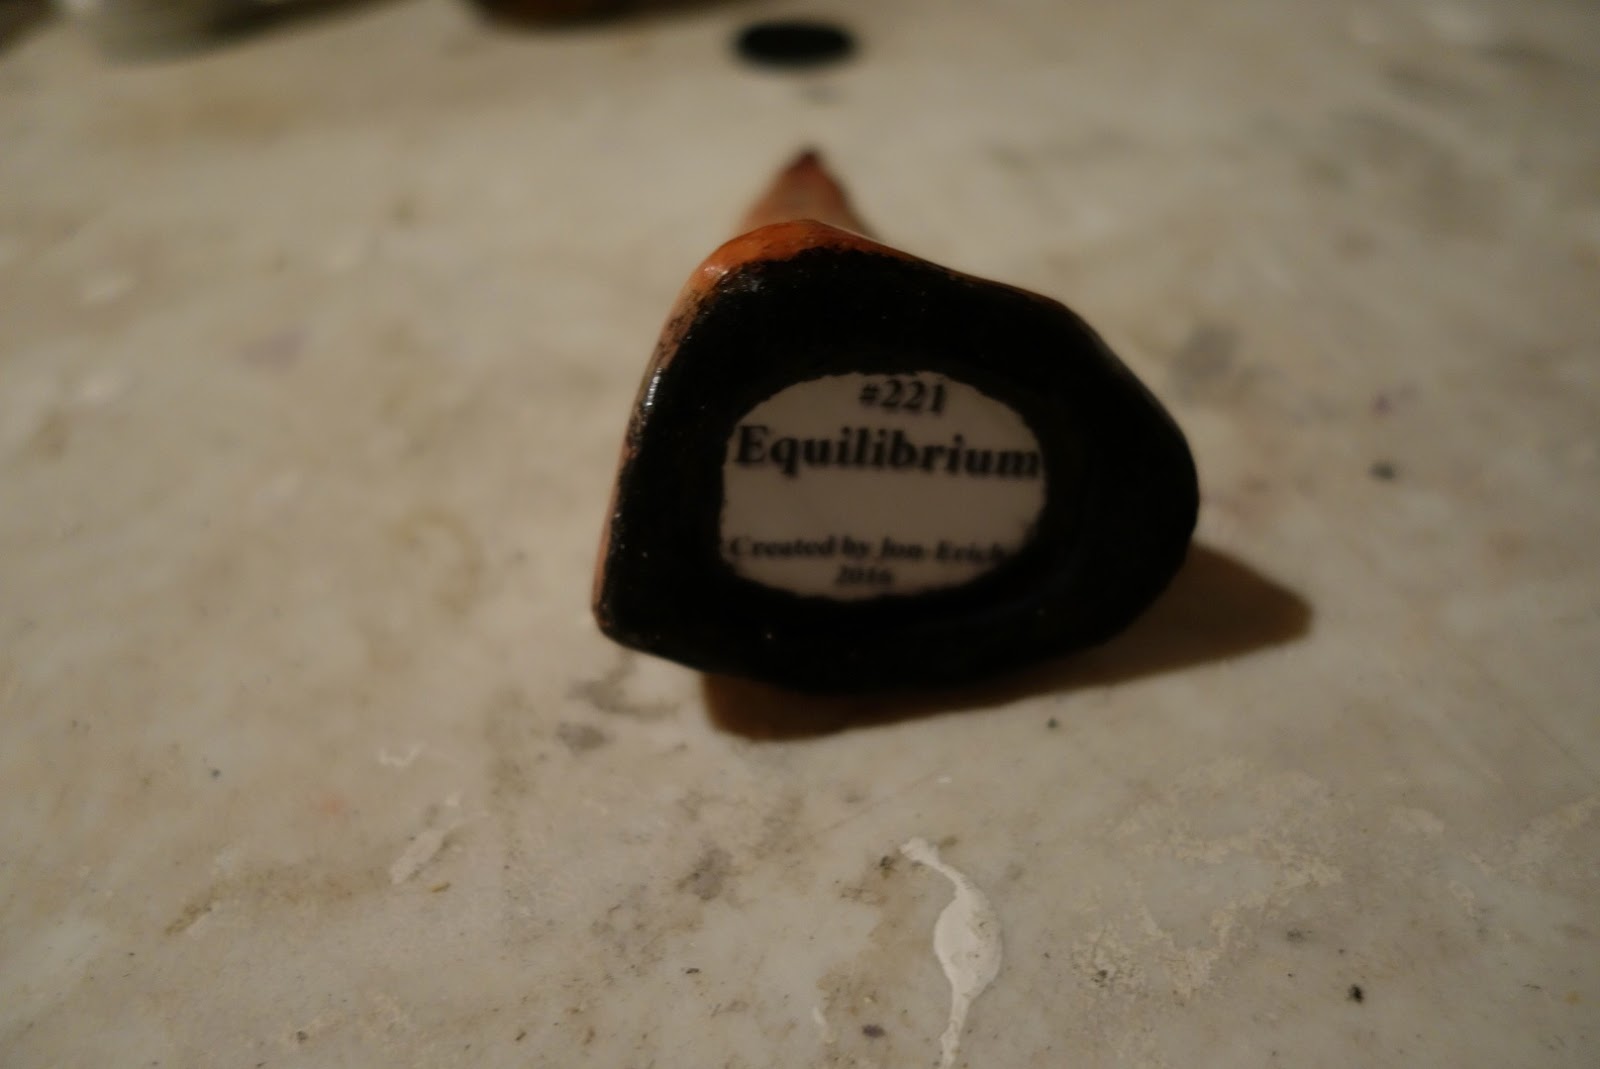
| 11/26/16: The label is on there, almost perfectly. |
 |
| 11/26/16: The label is in place. |
 |
| 11/26/16: The label is on here with no problems. |
 |
| 11/26/16: The label is on here in the perfct spot. |
 |
| 11/26/16: Although it was difficult to do, a label was successfully made for this piece and was placed on here. |
 |
| 11/26/16: The second layer of pumice gel has been applied to this piece. |
 |
| 11/26/16: Light molding paste work is done. |
 |
| 11/26/16: Light molding paste work is done, although for some reason, I never took a picture of this piece with just the label. |
 |
| 11/26/16: Light molding paste work is done. |
 |
| 11/26/16: The molding paste work here is done. The wood is still somewhat exposed just so I know where it is. |
 |
| 11/26/16: The molding past work is done here. Like the other one, the wood here is slightly exposed. |
 |
| 11/26/16: Not much molding paste work ha to be done here. Still, it was necessary. |