Saturday, January 14, 2017

2016 Progress Report: November-Part 1

This is part 1 of the November posts. Since I had to prepare for my show, November was a very busy month for me. I have nearly 100 pictures and instead of having them all in one post, they're going to be divided up into several posts. Each post should represent one week during the month of November.

This first post focuses on three pieces, two of which would not be ready in time for the show. They are mixed media pieces that have had somewhat similar processes of development. The next post will focus more on ceramics.

11/5/16: After spending time on the deconstruction phase of P11, the reconstruction is well under way. It started a month earlier but it finally making more progress.

11/5/16: The back of this has also made a lot of progress, though it still looks a bit filthy from the mold that had developed through years of sitting in the back of the basement.

11/6/16: I normally don't like covering all the chicken wire until the drawing parts are finished, but in this case, I left some space where there will be some overlapping with the canvas. This was done because it makes it easier for me to transport the drawing wherever I need it without the the rest of the piece getting in the way.

11/6/16: The canvas work on the back is finished. The middle part where the disgusting mold was is still bare because the name label will eventually be placed here when the piece nears completion.

11/6/16: This project that I had been lowly working on throughout the year has been cleaned up a bit, at least on the back.

11/6/16: Construction started on this piece. This is going to be a wall piece. The ideas for this are somewhat based on the piece I finished earlier in the year called Eternal Light.

11/6/16: The Gesso work is done.

11/6/16: The chicken wire work is done on the front. The pointy parts were left undone deliberately. I wanted that exact shape to remain.

11/6/16: The chicken wire work on the back is done, although there is something I forgot...

11/6/16: The gesso work is done on the front.

11/6/16: The Gesso work on the back is finished.

11/7/16: Aside from working with the cavas pieces, I nesrly forgot the piece of wood in the back that I'm using for hanging the piece. I normally wouldn't forget something like this, but progress on this piece has been going at a faster pace than what I'm used to.

11/7/16: Canvas work on the front is finished.

11/7/16: Canvas work ia done on the back. Normally, the wood piece wouldn't stick out like that, but since it was placed there after most of everything was finished, I kind of had to do it that way.

11/8/16: The gesso work on the front is done.

11/8/16: The work on the back is done.

11/8/16: Molding paste has been placed on the back in order to smooth everything out and to add stability.

11/10/16: This is the drawing for P11, at least the start of it. Some proportions are still out of place, but I at least have a rough idea of what's going on here.

Saturday, December 31, 2016

Upcoming Posts

November was an extremely busy month for me since I had to prepare for my show and everything. While December wasn't as busy, I had to deal with more personal matters. With that being said, here's what to expect within the upcoming month:

- The November Progress Report will be divided into four different posts since I have nearly 100 pictures from that month.

- A series of posts about shows I've had over the last few years.

- A review of 2016 with edited pictures of everything I've done throughout the year.

- A new list of upcoming projects for the new year.

- A possible sneak peak of new buttons of ceramic pieces that'll go on sale soon.

Just in case anyone was wondering, there will be no December 2016 Progress Report. After my show, I was busy with other things, but work on any unfinished projects had ceased for the remainder of the year and there are no new pictures beyond November.

That's pretty much it. My next post will hopefully be in a few days.

Saturday, November 5, 2016

2016 Progress Report: October

In October, My focus turned to making more of a variety of ceramic work and continuing work on some old mixed media projects. I also had digital projects in the works, although I don't have any preview pictures for those. The complete versions will be posted in the near future. Despite how busy October was, November will prove to be even more hectic, as the date for the show comes closer.

10/5/16: This ugly slab will hopefully become a nice looking piece that hangs on a wall.

10/5/16: This piece dried just enough to allow the burnishing work to be done. Burnishing is not easy and requires patience.

10/5/16: More Burnishing work.

10/5/16: Even more burnishing work.

10/5/16: Burnishing work on these angular pieces proved to be more difficult.

10/5/16: More difficult burnishing work.

10/5/16: Even more difficult burnishing work.

10/12/16: I managed to make that ugly slab look a little more presentable.

10/19/16: The bisque firing is done. Some of the shine went away but it'll come back. I also noticed a slight crack that appeared on the top of the piece. It doesn't ruin it by any means but it is worth mentioning.

10/19/16: This piece also happened to survive the firing. It doesn't look like much though, at least not yet.

10/19/16: The egg piece survived the firing just fine.

10/19/16: This was also fired along with the other pieces.

10/19/16: Not much to say here.

10/19/16: Also not much to say here.

10/19/16: This is the second in a series of wall pieces. This looks better than the first piece in my opinion.

10/19/16: This piece has fallen way behind schedule but it is finally getting somewhere. This is based on something I was working on back in 2010. The piece went through a process of deconstruction before finally going through some reconstruction.

10/19/16: This piece is somewhat large and thin. Because of that, reinforcement is needed. Also, I'm mapping out where everything is supposed to go such as the piece of wood that will eventually be used for the hanging hooks.

10/26/16: This piece will use one coat of ferric chloride.

10/26/16: This piece will use two coats of ferric chloride.

10/26/16: This piece will use three coats of ferric chloride.

10/26/16: This piece will use a combination of copper wire, horse hair, and sugar.

10/26/16: This piece uses the same material, but in a different way.

10/26/16: Again, same materials, just placed on there in a different way.

10/26/16: This piece is now wrapped up like a baked potato and is ready to be fired.

10/26/16: This is also ready for the final firing.

10/26/16: This will also be fired at the same time as the other pieces.

10/26/16: This is the third wall piece that I'm working on. It was a little tricky to make because of the negative space that the other pieces didn't have.

Wednesday, November 2, 2016

2016 Progress Report: September

September got off to a slow start, although things did accelerate when I found out when my show was going to be, which allowed me to plan certain projects. Future sagger and pit firings were the main focus for the month since I wanted to get those out of the way first, although my projects from the spring were unfortunately still unfinished and I had to get those out of the way. October would be and even busier month.

9/7/16: The remaining work on this piece was somewhat easy. It had a simple design so dealing with everything from the shape of the name label to the molding paste and felt was easy to deal with. Though like all the other hollow pieces, getting the label in place was somewhat difficult.

9/7/16: The story for this is pretty much the same as To The Sky.

9/7/16: Creating the label for this piece was somewhat complicated. There wasn't much room to do anything. Somehow, I managed to do it.

9/7/16: Creating the lable for this surprisingly wasn't quite as difficult as Season of Growth. Still, it is a very small label.

9/7/16: This was easy to finish. In fact, most of everything about this piece was easy. That's also why I have mixed feelings about it. It looks alright, but also looks like something I might have done in 2013.

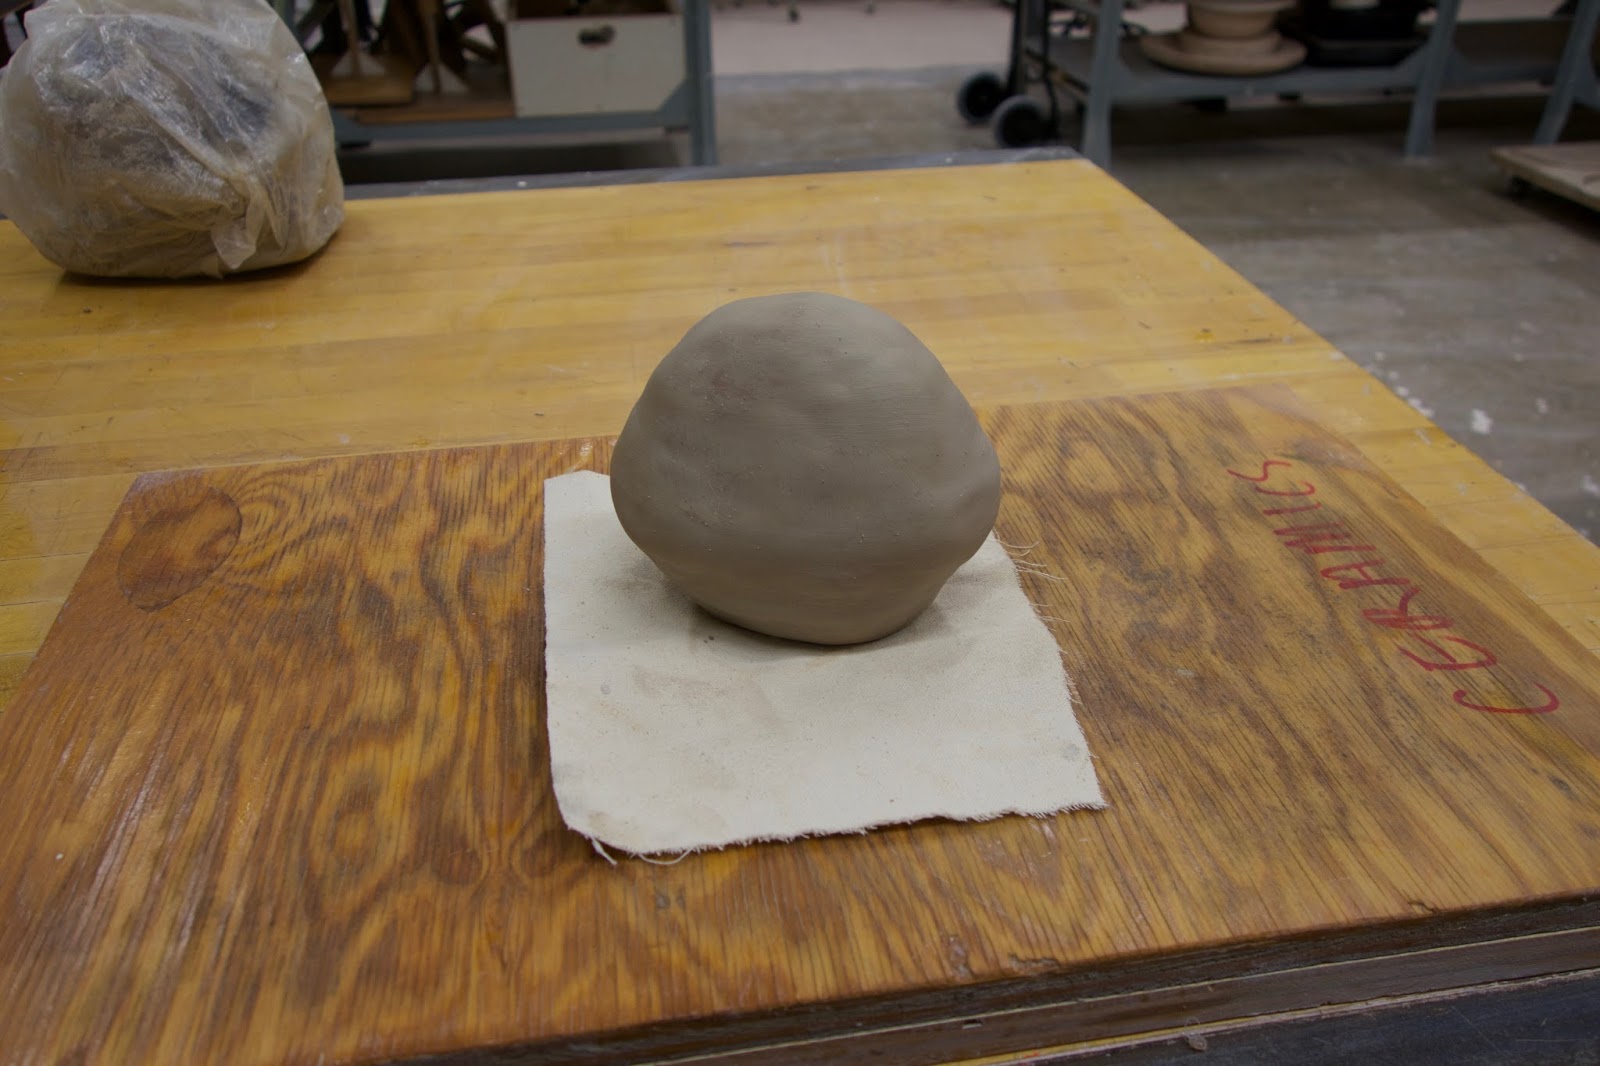
9/14/16: This is a simple design made out of coils. I'm hoping this will eventually be used for a pit firing. The idea behind this was to create an imperfect sphere.

9/21/16: The idea behind this was to take the imperfect sphere idea and show what would happen if it were squeezed. I have to say I'm not particularly fond of this shape, but I'm gambling on the idea that it'll look good in the end.

9/27/16: The idea behind this piece was to imgine if I took the previous week's piece and squeezed it again. I was going for an egg shape here.

9/28/16: There were three pieces like this that were made. This along with two other pieces were candidates for saggar firings. The difference between these pieces when compared to past saggar pieces is the shape. Past pieces took on more of a cone shape whereas these pieces go for a more triangular shape, though without sacrificing the curviness of other pieces. I have no idea how well this will work out.

9/28/16: As with many pieces that I work on as a series, this is the wider angular saggar piece.

9/28/16: This is the "short" piece in this series of saggar firings.

Saturday, September 24, 2016

2016 Progress Report: August

August was a strange month. The beginning of August was a very productive time for me. Then the summer ceramic course ended and the following weeks were not productive at all. I guess you could say I was resting. Then when the semester started up again at the end of August, I was busy again. Needless to say, not a whole lot got done, but it was beginning of things to come.

8/2/16: The firing is complete and foil has come off. These looked very ugly prior to the polishing work. A good way to tell wether I succeeded with these saggar firings is to pour water on them. That gives me a good indication of what they'll look like after applying the polish.

8/2/16: Later in the day, the polishing work is complete and these pieces are looking much better.

8/4/16: These are the bottoms of the ceramic dishes I was working on back in July. This set is named after a piece I did back in 2015 called Tension. Although these pieces don't look anything like that piece, both projects used the same glazes.

8/31/16: After taking a break for several weeks, this is finally done. One thing that I try to do when adding felt is to hide it. Technically, you're not supposed to see it when the piece is standing up, but from certain angles, you can still tell it's there. I hide it by lightly applying black acrylic paint around the edges of the felt.

8/31/16: This is done too. This was one of the easier ones to do.

8/31/16: I believe this was almost done at the time this picture taken. I think the only thing that was left to do was to add polymer medium. Whenever I end up using acrylic paints anywhere on a ceramic piece, I always use that afterwards to give the paint a shine so it looks like it was part of the piece rather than being just paint on a piece.

8/31/16: Applying the label was not easy but the work with the felt was easy. It's because this piece had a simple circular shape on the bottom.