Friday, March 31, 2017

2017 Projects and Plans

With 2017 here, a lot of projects are in the pipeline and a lot of plans are in place. Usually with me, a lot of what I want to do early on in the new year has a lot to do with what I wasn't able to do last year.  There are always projects and ideas that I won't even bother talking about because I know there is no guarantee of getting these projects off the ground let alone getting them done. This is the list I came up with. It could and probably will change throughout the year. I hope to get at least the majority of these projects done this year. It is also worth noting that I never mention shows or other possible events in these documents because I can't necessarily plan all of that stuff that far ahead of time and I like to restrict the document to individual projects rather than events, which will get their own announcement as they come into fruition.

For those of you who didn't read last year's document, let me explain what everything means. I keep digital files of everything I have in development. Before getting official names, these projects are designated with the letter P (Project) followed by a number. Though these numbers are used to give the project an identity, they do not necessarily determine the order in which I get a project done. This is because whenever I complete a project and give it a name, chances are a new project will be started with that same number. For example, if I complete P1 and move onto P2, a new P1 might get started, but P2 will still the main focus. The For Profit projects do not have designated numbers because only what I consider portfolio projects get those. This is also because the profitable work is often a series of projects rather than one single project. I hope this explanation wasn't too confusing. This is just my way of keeping track of things and it works for me.

That is all for rightnow. The next post will most likely have pictures from February.

My document for my 2017 plans

Wednesday, March 15, 2017

2016 Progress Report: November-Part 4

After a 2 month delay, this is it. We're finally done with November. We're finally done with 2016 since there aren't any December pictures. The only time I'll go back to 2016 is whenever I get around to posting about last year's shows. So like the last post, there are a lot of pictures, although not quite as many. Within the last week of November, it was about putting the last minute touches on everything. There was no more clay work to be done. There was no more buying with foam board or anything like that. By this point, the drawing-related projects were put off until 2017 because I knew they weren't going to get finished. So the last week of November was mostly about placing labels, painting, polymer gloss work, placing felt on my pieces, placing the hanging hooks and wires. Aside from painting the piece now known as Daylight, a lot of the work involved little things, but there were a lot of little things to do. I got most of everything done on Monday the 28th, the same day the show had to go up. Daylight was not finished until Tuesday. I was relieved since on Wednesday, I was allowed to focus on getting ready for the reception and preparing the buttons and ceramic pieces I would be selling at the reception.

So enjoy these pictures. The next Progress Report will be for February 2017, although I'm not sure if that's what the next post will be about. Hopefully, that, along with everything else I promised a few months back will be up sooner rather than later.

11/27/16: Everything is almost done here. The felt on the bottom is still needed.

11/27/16: Everything here is almost finished. Felt is still needed though.

11/27/16: Working with tiny labels is always hard, but it is almost done at this point.

11/27/16: The back here is almost finished. It just needs felt, hanging hooks and wires.

11/27/16: While molding paste isn't needed everywhere, I used it for the purpose of consistency since it was needed to cover up the edges of the label.

11/27/16: Every aspect of the label for this piece was complicated due to the small triangular space. I also tried to hide the wood pieces that'll be used for the hanging hooks by covering them with molding paste, acrylic paint and metallic paint.

11/27/16: The felt is on and this piece is finally done.

11/27/16: The felt is on and this piece is now complete.

11/27/16: The felt has been glued on and this piece is finished.

11/27/16: The felt has been glued on but the hooks and hanging wire is still needed.

11/27/16: The felt here only needed to be placed in certain parts of the piece. Anything that would be touching the wall was covered with felt and the part where the wood piece for the hanging hooks is located also has felt. That was done partly for aesthetic reasons and so I would remember exactly where the wood was placed.

11/27/16: Felt has been placed around the label, on the hidden wood pieces where the hanging hooks will eventually be placed and at the bottom. This piece is almost done.

11/27/16: I spray painted this piece. As anyone who has seen the past progression of my work may know, I almost always use a coat of spray paint before painting since black is easier to hide than white.

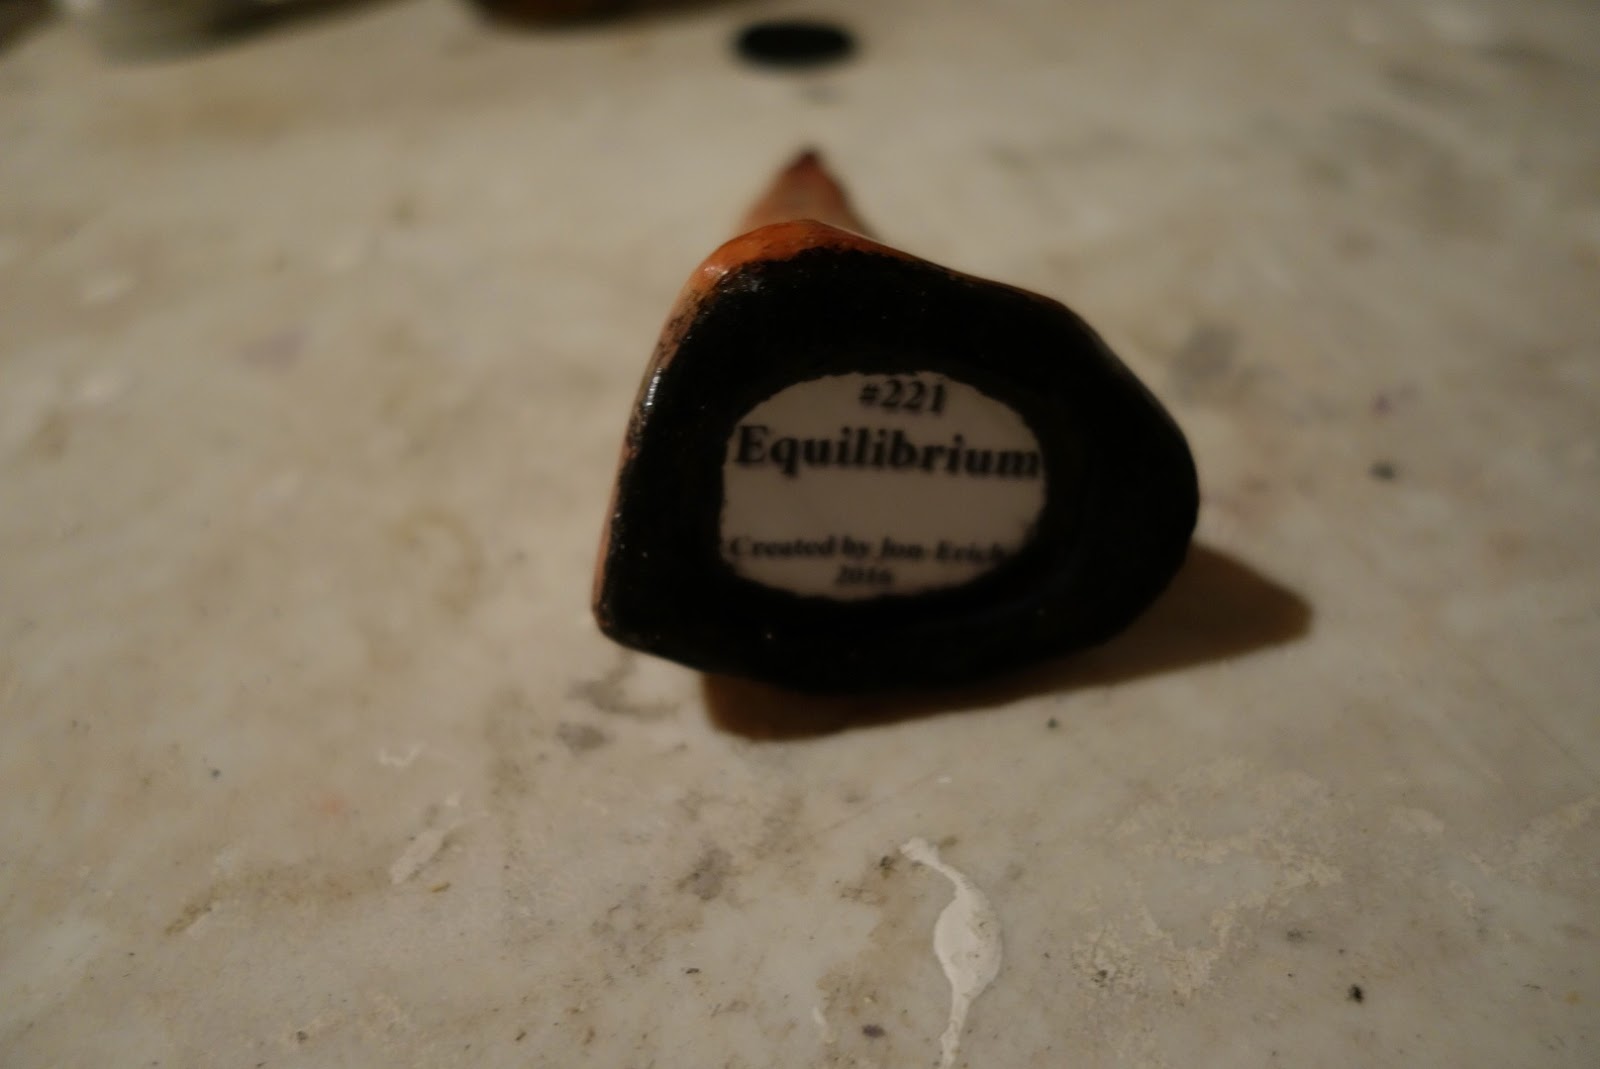
11/27/16: The back was spray painted as well. I chose to put the label on after the spray painting so I wouldn't ruin the label in any way.

11/27/16: Light molding paste was used to cover the edges of the label. This does not need to be spray painted and can easily be painted over later.

11/28/16: This piece is finally done and ready for hanging.

11/28/16: This piece is done and finally ready for hanging.

11/28/16: This piece is done and finally ready for hanging.

11/29/16: Basic paint work on the back is done.

11/29/16: Basic paint work on the fron is done. I chose to have the darker spots in the center and on the ends while having the lighter areas are in between. This won't be as noticeable when the metallic paint work is done.

11/29/16: The metallic pant work is done on the front. This really helps the textured patterns stand out more.

11/29/16: The metallic paint work on the back is done. The only reason I bothered with the back was for continuity purposes. If people look on the side of a wall while this is hanging, they will continue to see metallic paint.

11/29/16: The polymer gloss is on. The felt is on. The hooks and wire is on. The back of this piece is done.

11/29/16: The polymer gloss work on the front is done. This piece is done and is ready for hanging.

Sunday, February 19, 2017

2016 Progress Report: November-Part 3

This week in November was a week where I was finishing up a lot of projects and taking of the smaller aspects of a project such as name label placements. With the non-ceramic work, there was still a little more to be done. With so much of this happening right before the show, I remember asking myself if I could ever have a show where everything is done well in advance.

11/22/16: This was probably one of the easier labels to do. Whenever I end up choosing a smaller font size, I end up using bolded type in order to make smaller words more readable.

11/22/16: This is one of those labels where I wasn't quite sure how the placement was going to work out. There's a lot of unused space. Usually, when I place these labels on a piece, I try to have the top of the label placed right by what I consider the fron of a piece.

11/22/16: I remember having problems with this label because I had put too much hot glue on one side when I had inserted the foamboard. I did get the label on there but I still looked a little off.

11/22/16: Whenever I put the light molding paste on one of these pices, it's always a tricky process. I don't want to cover the name label and I want to make enough room so I feel the letters on the label has breathing space, if that makes any sense. It doesn't always work out that way though.

11/22/16: With this label, there was plenty of room for everything. I put more light molding paste on the piece than what I needed because I wanted to have a solid surface when I eventually place felt on the bottom.

11/22/16: This is one of those examples of a name label where the letters should have been smaller. There's too much room that was taken up. The letters are too close to the molding paste.

11/22/16: Since the light molding paste dried, I was able to paint this. After the felt is glued on, I'll most likely need to paint over it again.

11/22/16: Even though a large portion of the bottom of this piece will be covered in felt, I still felt the need to paint everything. This way, everything will already be done when the felt is glued down and I won't have to try and arrange anything in any special way.

11/22/16: One good thing about using laminated labels is that if I get paint on it, I can wipe the paint off. On this one, the paint is dangerously close to the letters. Not much can be done about that though. As I said before, I should have made the type smaller.

11/23/16: This is the first of three pieces that were pit fired. There's more black than what I wanted, but I saw enough that I liked. I also figured I could make the black work somehow.

11/23/16: This is the second piece that was pit fired. I'm kind of liking what's going on here. I kind of wish I had more of that though.

11/23/16: This is the third piece that was pit fired. I ctually like the black on this piece because I felt there was an even amount of dark and light colors.

11/23/16: I managed to get the polishing work done. It's probably hard to tell by looking at this picture, but it does make a huge difference.

11/23/16: The polish definitely made a difference here.

11/23/16: The polishing also made a difference here, but I think it was a little less notible than on other pieces.

11/24/16: After a long wait, I'm finally working on this piece again. I'm using coarse pumice gel for the texturing. I'm starting with the back of the piece first. some parts are being left bare for label placement and felt placement.

11/24/16: The felt is in place. The touchups are done. The polymer gloss work is done. This piece is finally done.

11/24/16: This piece is also done.

11/24/16: This piece is done as well.

11/25/16: The first layer of texture work on the front is finished. With pumice gel, it usually takes two layers to get the desired result.

11/26/16: The wood pieces are in place, however, this is far from ready for hanging. Also, I managed to reattach the broken piece.

11/26/16: The wood piece here was placed almost in the middle. I'm hoping that would balance everything out so both the top and bottom hang evenly on the wall.

11/26/16: The wood piece here was placed almost in the middle. I'm hoping that would balance everything out so both the top and bottom hang evenly on the wall.

11/26/16: Placing the piece of foamboard on this was difficult.

11/26/16: Since the label space is bigger here, there wasn't as much of a problem placing the foamboard piece on here.

11/26/16: Like the first one, the small space made it difficult for foamboard placement.

11/26/16: The label is on there, almost perfectly.

11/26/16: The label is in place.

11/26/16: The label is on here with no problems.

11/26/16: The label is on here in the perfct spot.

11/26/16: Although it was difficult to do, a label was successfully made for this piece and was placed on here.

11/26/16: The second layer of pumice gel has been applied to this piece.

11/26/16: Light molding paste work is done.

11/26/16: Light molding paste work is done, although for some reason, I never took a picture of this piece with just the label.

11/26/16: Light molding paste work is done.

11/26/16: The molding paste work here is done. The wood is still somewhat exposed just so I know where it is.

11/26/16: The molding past work is done here. Like the other one, the wood here is slightly exposed.

11/26/16: Not much molding paste work ha to be done here. Still, it was necessary.