Tuesday, December 29, 2015

2015 Progress Report: October

A lot happened in October. With under a month left to have everything ready in time for my show, there was a sense of urgency to get things done. There were also a lot of headaches when trying to get my mixed media piece The Tragic Forest done in time. Still, I had a lot of fun and a lot of positive feelings came from feeling so productive.

10/6/15: At this point, the overall look and direction of this drawing has been decided but it still isn't finished. The rope still looks a little flat and there still isn't enough shading.

10/7/15: Although it was the second picture taken, it is actually the third sagger piece that I made. Unlike the first one I made, this was much easier to smooth out when it got leather hard. For those of you who don't know or understna dthe process, you'll have to see it in it's final form to understand what I'm talking about.

10/7/15: The second sagger piece. This is my least favorite of the three designs, although it was easy to work with. The only difficult part was the tip at the end. It was hard to create a smooth, shiny surface at that point which is why I didn't emphasis on it as much with the third piece.

10/13/15: The second drawing of the P4 project finally started goiing somewhere. Because I am not fluent in Japanese, I had to rely on what I could see on the references I used rather than what I understood.

10/14/15: At this point, mistakes have already been made. Also, this part is taking a long time.

10/18/15: The back of the main part of the P4 project used molding paste in order to further strengthen the integrity of the piece. This is the first layer.

10/20/15: The bisque firing for this finally got done. Everything came out intact. I still found it odd to be looking at this piece because I rarely create work that doesn't have defined textures.

10/20/15: I really like this form a lot. I think this best represents what I was trying to achieve with my ceramic work around this time.

10/20/15: I was glad this came out of the kiln intact. I was a little worried about this one.

10/20/15: This uses four raku glazes; black, red copper, blue crackle, and red bronze. I use the blue crackle on all of these and for some reason, that was the one that had trouble staying on intact and I still believe it had a lot to do with how the firings for these pieces eventually turned out. It should also be mentioned that despite using a number a glazes, I didn't simply overlap one over the other as you can see in the picture.

10/20/15: This uses four raku glazes; black, red copper, blue crackle, and friday surprise. Again, the blue crackle is chipping.

10/20/15: This uses the raku glazes black, red copper, blue crackle, and xtra calico higby.

10/20/15: The Japanese characters are finally finished. It was one of the most difficult parts of a drawing that I've ever had to do even though it doesn't seem like it.

10/21/15: This is starting to look much better than before. It's just about complete by this point and won't go through anymore major changes until the gloss fixative is applied towards the end of the P4 project.

10/21/15: We finally starting to see some depth perception here. Also, since I'm drawing a forest in the background, I decided to deliberately make the background a little more dirty in order to make everything a little easier to draw. Also, more trees are starting to make an appearance.

10/21/15: This still needs some more cleaning but at this point, I am liking the rsults of this. There are areas where the glzes seem to be missing and I still blame that on the blue crackle. However, I did like the effect enough to where I decided not to have this or the other pieces re-fired.

10/21/15: Even though this doesn't have as much shine as the other pieces, I still like the results here.

10/21/15: Although I have mixed feelings about the results for this piece, it did become a favorite at my show Haunted Autumn.

10/23/15: The second layer of molding paste was applied. This time, I tried to make the surfaces as smooth as possible in order to make the eventual quick paint job easier. The only are that was left undone was the part towards the bottom where the name label would eventually be placed.

10/27/15: I started working on the name lebel for The Vessel. There are three things I should point out here. First, I started using a bolded font in order to make the small lettering more distinguishable. Second, I used two different font sizes. I ususally just used one. Third, I swapped the positioning of the words "Created by Jon-Erich" and "2015". I thought it finally made more sense to do this and it also looked more visually structured.

10/27/15: The lettering is a little larger here.

10/27/15: Just like Desolation, the lettering here is a little larger but I feel that maybe I should have used a smaller font size.

10/27/15: The light molding paste work is done.

10/27/15: The light molding paste work is done but I feel smaller font sizes should have been used because it is too close to the molding paste.

10/27/15: Like Desolation, I feel the letters are too close to the molding paste. I'm getting better at this all the time but there's still something I'm learning each time I do it.

10/27/15: A little more of the land mass has been drawn along with some early lighting, although I would say that in some ways, the drawing has gotten worse since the previous pictures were taken. That is quite common for me though, especially ehrn I haven't done any major drawing projects in some time and I'm getting used to everything again.

10/28/15: We're finally seeing the P4 project come together. For those of you who had trouble trying to figure out where this project was heading and how these three parts would come together will get everything now. Every picture before this will make perfect sense now.

10/28/15: The gesso work has been complete. I did get some gesso on the drawings and that had to be cleaned up later.

10/30/15: P4 finally got a name.

10/30/15: Like the ceramic work, I used light molding paste in order to reduce the drying time and so I wouldn't have to add more weight to this piece that is already heavier than I wanted it to be.

10/31/15: On the front of this, I used a medium called coarse pumice gel. I used it earlier this year on another project I did called Stone Cold. As of this picture, not all of the pumice gel work was done. A lot of it had to sit in front of a fan all night and dry.

Thursday, December 24, 2015

2015 Progress Report: September

September was an interesting month. My project that would eventually become The Tragic Forest would finally begin to make some progress while I would start on and complete the basic forms of four ceramic projects. What's interesting about these new ceramic pieces is that they deviate from what I've been doing with ceramics over the previous 2 years. These pieces would ignore texture and negative space in favor of smooth surfaces which were made with the intentions of being experimental work for both raku firings and sagger firings. That's right, I finally started working on sagger pieces. Also, I started doing something this month that you don't necessarily see in the pictures but I'm not ready to talk about that just yet.


9/2/15: This project which would later become known as The Vessel was the first of three projects that placed an emphasis on glazed surfaces over form. I did this so I could find just the right surface appearances that I could apply to future work that I plan to mass produce and sell. This is why for the sake of the glaze, this and the two other pieces like it lacked the texturing my work is usually known for.

9/9/15: By this point, the form is almost complete. I actually had a chunk of the bottom removed because something about it didn't feel right.

9/16/15: The basic form is finally complete. A challenge for this was balancing the back. Too much weight would have caused it to fall over. Most of the weight is at the bottom where the two pieces connect. This is because the bottom as a whole was too small and too light. While the piece can easily be knocked over by accident, it will still stand on it's own.

9/16/15: This project would eventually be known as Desolation. This was a continuation of the idea I was working with when working on The Vessel. A smoother surface was chosen instead of a textured surface. Unlike The Vessel, this has two connecting pieces instead of one.

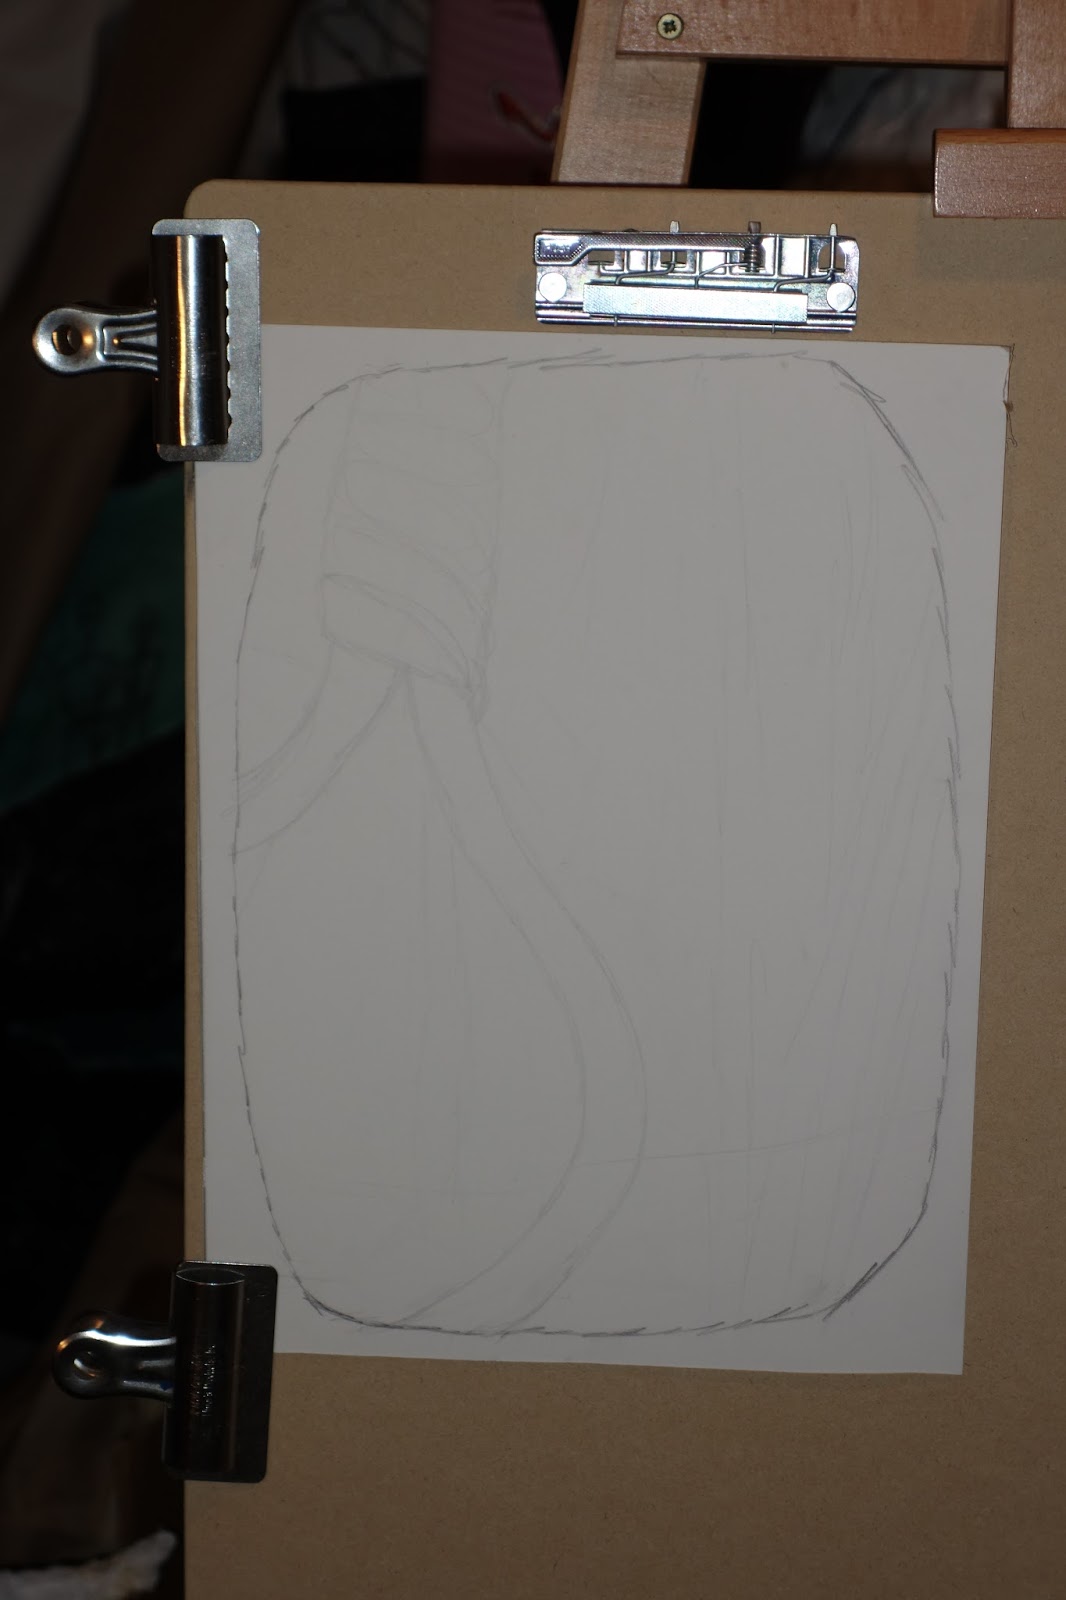
9/22/15: The P4 project finally started progressing more in it's drawing stages. This is just a basic outline up to this point. Reference sheets on the right gave some insight into the details of knot on a noose and ideas of where a lighting source in the drawing would be.

9/23/15: The basic construction of Desolation is complete. As with some of the other projects I was working on around this time, simplicity was the focus here.

9/23/15: This project would eventually be called Disconnect even though at first everything seemed very connected.Following The Vessel and Desolation, Disconnect would have an additional piece attached to it. The only thing I never liked about this piece was the surface. With The Vessel and Desolation, they had bowl-like surfaces which with connecting pieces very well. With this, I decided not to do that and I think it ended looking too much like a flat piece by itself and not very well intergrated with the other pieces that are connected to it.

9/30/15: The construction on Disconnect is complete. My favorit part about this piece is the connecting piece to the far right. It isn't facing the other pieces. It's as if the two other pieces are seeing the same thing or are agreeing on something while the third piece disagrees or sees something different. This little last minute change is why the piece became known as Disconnect.

9/30/15: This project would eventually become Sybiotic Struggle. This title wouldn't be chosen until it's near-completion. This piece altohugh small and simple, has some major significance. It would become my first sagger firing. I was given simple instructions. Make something smooth, small, and simple. The clay that I used was not the usual hand building clay. Instead, I used clay that you'd use on a throwing wheel. It was tough to get used to. It was very slipery and took forever to dry.

9/30/15: Some more outline work was done on P4 as well as some practice work with the charcoal and pastels. I call it practice work because I figured if I screwed up on the bottom part of the drawing, it was be the easiest part to cover up as the P4 project progressed.

Friday, October 16, 2015

2015 Progress Report: August

After taking a summer break, I finally started working again. I took a project I started years ago and picked up where I left off.

8/1/15: This project is currently known as P4. I actually started on it 5 years ago but then put it aside for several years. Now I know what I want to do with it so I started working on it again. It's going through a slight redesign on the back area because I felt the piece needed to be structurally reinforced. There's also a piece of wood glued down for the eventual hanging. Also, at the bottom, I have a chunk of foam board sticking out. That's because I want to try something new with this but I'm not sure if it's going to work. I'll talk more about that part later.

By the way, in all the August pics, you're only seeing the back on the sculptural part of this piece.
8/2/15: I started the chickenwire work.
I finished the chickenwire work and I'm starting on the canvas work.
8/9/15: After a break, I'm finishing the canvas work.
8/12/15: This is also a part of the P4 project. This is a very, very early start for this drawing. Right now, it's just a shapes and trying to get a basic idea for a composition down.
8/12/15: The other drawing party for P4. There's not much to look at here, at least not right now.
8/12/15: The gesso work on the back of P4 is done. This piece will be left alone for a while.

Tuesday, October 6, 2015

2015 Progress Report: May

By this month, all the firing work for all the ceramic pieces I had been working on since the beginning of the year had been finished. The focus now was on the parts of the ceramic work that most people aren't going to see. The time and effort this post-firing work added up to more than 12 hours, which I was told was an insane amount of time to spend on seemingly small details. However, in my line of work, the small details matter just as much as the big picture. After this, I decided to take a few months off.

5/12/15: A label was created for what is now known as Dark Meadows. I tried some new methods for creating these name labels that involved using transparent tape. This way, the labels won't fade and the drop shadows won't become discolored when I apply the polymer gloss.
5/12/15: A label was created for what is now known as The Order.
5/12/15: A label was created for what is now known as Third Season.
5/12/15: A label was created for what is now known as Misplaced.
5/12/15: A label was created for what is now known as Constant Change.
5/12/15: A label was created for what is now known as Photosynthetic.
5/12/15: A label was created for what is now known as Through the Crucible.
5/12/15: A label was created for what is now known as Into the Deep.
5/13/15: Soft molding paste was applied around the label for asthetic reasons. Soft molding paste was chosen as opposed to regular molding paste because soft molding paste dries much faster.
5/13/15: Molsing paste work for The Order is done.
5/13/15: Moding paste work for Third Season is done.
5/13/15: Molding paste work for Misplaced is done.
5/13/15: Molding Paste work for Constant Change is done.
5/13/15: The molding paste work for Through The Crucible is done.
5/13/15: Molding paste work for Photosynthetic is done.
5/13/15: Molding paste work for Into the Deep is done.
5/13/15: This photo along with the others was taken during the photo shoot and unlike the photos that will eventually be uploaded, these are unedited. The felt has been glued on by this point and the piece is completely finished. Felt is used to allow the ceramic piece to sit on any table without causing any scratching. It also makes the piece look more asthetically pleasing.
5/13/15: The felt has been placed on The Order.
5/13/15: Felt has been placed on Third Season.
5/13/15: Felt has been placed on Misplaced.
5/13/15: Felt has been placed on Constant Change.
5/13/15: Felt has been placed on Through the Crucible.
5/13/15: Felt has been placed on Photosynthetic.
5/13/15: Felt has been placed on Into the Deep.